Goovi Robot Vacuum Manual: A Comprehensive Guide
This comprehensive guide details operation‚ maintenance‚ and troubleshooting for Goovi robot vacuums (D380‚ D382‚ F007c). Safety instructions are included for optimal performance.
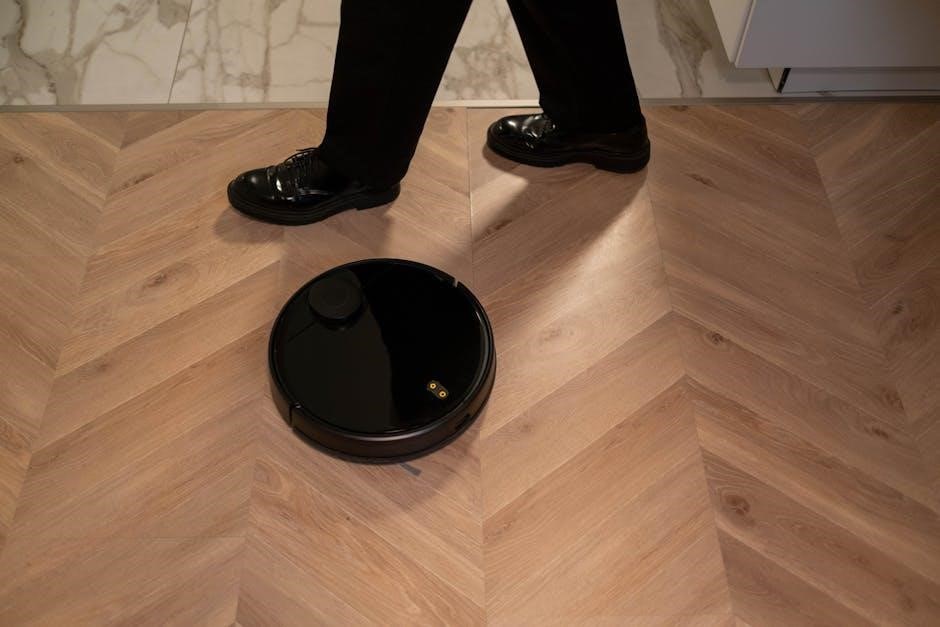
Goovi robot vacuums are designed to simplify your cleaning routine‚ offering automated floor care for various surfaces. These intelligent devices utilize advanced sensors and powerful suction to effectively remove dust‚ debris‚ and pet hair. Models like the D380‚ D382‚ and F007c cater to different needs and home layouts.
Understanding the features and functionalities of your Goovi robot is crucial for maximizing its cleaning potential. This manual provides detailed instructions on setup‚ operation‚ maintenance‚ and troubleshooting. Always prioritize safety by adhering to the provided guidelines‚ ensuring both the robot’s longevity and a safe cleaning experience. Proper use will deliver a consistently clean home.
Understanding Your Goovi Model (D380‚ D382‚ F007c)
Goovi offers several robot vacuum models‚ each with unique features. The D380 is a foundational model‚ providing reliable automated cleaning. The D382 often includes enhanced features like improved suction or longer runtimes. The F007c model frequently focuses on smart home integration and potentially app connectivity‚ though some models lack app support.
Refer to your specific model’s documentation for detailed specifications. Key differences lie in battery capacity‚ cleaning modes‚ and included accessories. Understanding these nuances ensures you utilize the optimal settings for your home’s needs. Always consult the included user manual for precise details regarding your particular Goovi robot vacuum.

Getting Started
Begin with unboxing‚ checking components‚ and fully charging your Goovi robot vacuum. Familiarize yourself with the remote control for seamless operation and control.
Unboxing and Component Checklist
Carefully unpack your Goovi robot vacuum and verify all components are present. You should find the robot itself‚ a charging base‚ a power adapter‚ a remote control (with batteries)‚ and potentially extra side brushes or a filter.
Inspect the robot for any visible damage during shipping. Confirm the dustbin is properly installed. Refer to the included quick start guide for a visual component list. Missing parts? Contact Goovi customer support immediately. Proper component verification ensures a smooth setup and optimal cleaning performance from the start. Retain the original packaging for potential returns or warranty claims.
Charging the Robot Vacuum
Before first use‚ fully charge your Goovi robot vacuum. Connect the power adapter to the charging base and plug it into a wall outlet. Position the charging base against a wall on a level surface‚ leaving at least three feet of clear space on either side.
Place the robot onto the charging base‚ ensuring the charging contacts align; The robot’s power indicator will illuminate‚ signaling charging has begun. A full charge typically takes several hours; Once fully charged‚ the indicator light will change. Always ensure proper contact for efficient charging and extended battery life.
Remote Control Overview & Functions
The Goovi robot vacuum remote control allows convenient operation. Key functions include power on/off‚ auto cleaning‚ spot cleaning‚ and edge cleaning modes. Directional buttons enable manual control for targeted cleaning. The timer function sets scheduled cleaning sessions‚ offering automated convenience.
The ‘Home’ button returns the robot to the charging base. Adjust cleaning power and speed using dedicated buttons. Familiarize yourself with each button’s function for optimal control. Ensure fresh batteries are installed for reliable operation. Proper remote use enhances cleaning efficiency and customization.
Operation & Cleaning Modes
Goovi robot vacuums offer auto‚ spot‚ and edge cleaning modes for versatile floor care. Manual control via the remote provides customized cleaning paths.
Auto Cleaning Mode
The Auto Cleaning Mode allows your Goovi robot vacuum to systematically clean your entire floor area. It intelligently navigates around obstacles‚ furniture‚ and walls‚ ensuring comprehensive coverage. This mode is ideal for routine‚ whole-house cleaning with minimal user intervention. The robot will automatically adjust its cleaning path and power based on the floor surface it detects.
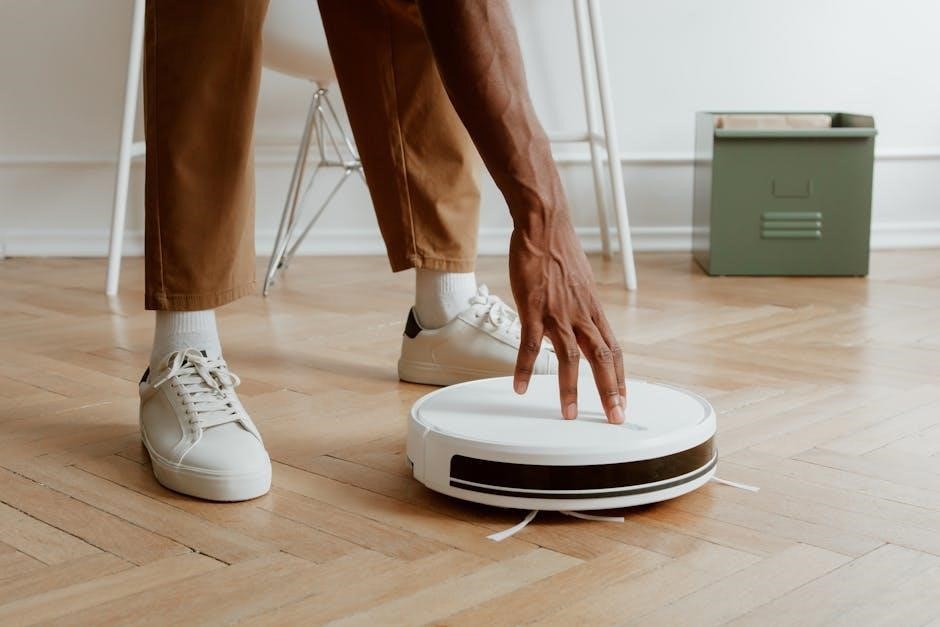
To initiate Auto Cleaning‚ simply press the “Clean” button on the robot or the remote control. The robot will begin cleaning in a pre-programmed pattern‚ optimizing for efficiency and thoroughness. It’s a convenient option for maintaining a consistently clean home environment.
Spot Cleaning Mode
The Spot Cleaning Mode is designed for concentrated cleaning of small‚ localized messes. To activate‚ place the robot over the area needing attention and press the “Spot” button on the remote control. The Goovi robot will then spiral outwards‚ cleaning a roughly 3-foot diameter area with increased suction power.
This mode is perfect for quickly addressing spills‚ crumbs‚ or pet hair in specific locations. The robot will operate for approximately 30-60 seconds in Spot Cleaning Mode before automatically returning to its base or standby. It’s a targeted solution for quick cleanups.
Edge Cleaning Mode
The Edge Cleaning Mode allows the Goovi robot vacuum to meticulously clean along walls and around furniture. Activate this mode by pressing the “Edge” button on the remote control. The robot will systematically follow the perimeter of the room‚ ensuring thorough cleaning in hard-to-reach areas where dust and debris often accumulate.
This mode is particularly effective for baseboards and corners. The robot will move in a consistent pattern‚ maximizing contact with edges. After completing the edge cleaning cycle‚ it will automatically switch to Auto Cleaning Mode for a comprehensive clean.
Manual Control via Remote
Utilize the remote control for direct‚ manual operation of your Goovi robot vacuum. Directional buttons allow precise steering – forward‚ backward‚ left‚ and right – granting complete control over the cleaning path. This is ideal for targeted cleaning of specific messes or navigating complex room layouts.
The remote also features buttons for initiating different cleaning modes (Auto‚ Spot‚ Edge) and adjusting suction power. Pause and resume functions provide convenient interruption and continuation of cleaning cycles. Mastering the remote unlocks personalized cleaning experiences tailored to your needs.
Maintenance & Troubleshooting
Regular maintenance‚ including dustbin emptying‚ brush and filter cleaning‚ ensures peak performance. This section addresses common issues like power failures and robot blockages.
Emptying the Dustbin
Maintaining optimal suction requires regularly emptying the dustbin. After each cleaning cycle‚ or when the robot indicates a full bin‚ power off the device. Locate the dustbin release button – typically on the robot’s body. Gently press to release and remove the dustbin. Open the dustbin over a trash receptacle and empty its contents completely.
For thorough cleaning‚ remove the filter from within the dustbin and gently tap it to dislodge any remaining debris. Avoid washing the dustbin or filter with water; instead‚ use a dry cloth. Ensure the dustbin and filter are completely dry before reassembling and placing them back into the robot vacuum. A clean dustbin maximizes cleaning efficiency.
Cleaning the Brushes
Regular brush cleaning is crucial for maintaining effective floor cleaning. Power off the robot and flip it over. Remove the main brush and side brushes. Carefully remove any tangled hair‚ fibers‚ or debris wrapped around the brushes – scissors may be helpful‚ but use caution. Inspect the brush caps for buildup and clean as needed.
For the main brush‚ check the brush bearings and remove any accumulated dust. Ensure the brushes are completely dry before reattaching them to the robot. Clean side brushes with a dry cloth. Regularly cleaning the brushes prevents reduced suction and ensures optimal performance during each cleaning cycle.
Cleaning the Filters
Maintaining clean filters is vital for optimal suction and air quality. Regularly remove the filter(s) from the dustbin – typically a HEPA filter. Gently tap the filter to dislodge loose dust and debris. Do not wash the HEPA filter; this can damage it. Instead‚ replace it periodically‚ as recommended.
If your model has a pre-filter‚ it can be washed with water and allowed to dry completely before reinstallation. A clogged filter reduces suction power and can strain the motor. Inspect filters every cleaning and replace them every 2-3 months‚ or more frequently with heavy use.
Troubleshooting Common Issues (No Power‚ Stuck Robot)
If the robot won’t power on‚ ensure the charging base is connected and the robot is correctly placed on it. Check the power adapter and outlet. For a stuck robot‚ first‚ power it off. Remove any obstructions like cords or rugs. Inspect the wheels for tangled hair or debris.
If error codes appear‚ consult the “Understanding Error Codes” section. Ensure the sensors are clean. If issues persist‚ reset the robot by holding the power button. Always refer to the full manual for detailed troubleshooting steps and safety precautions;
Advanced Features & Settings
Explore scheduling options‚ understand error code meanings‚ and learn how to easily replace filters and brushes for continued peak cleaning performance.
Scheduling Cleaning Sessions (Timer Function)
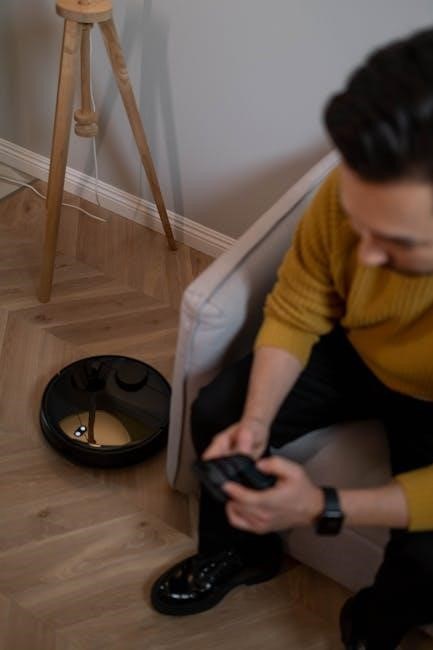
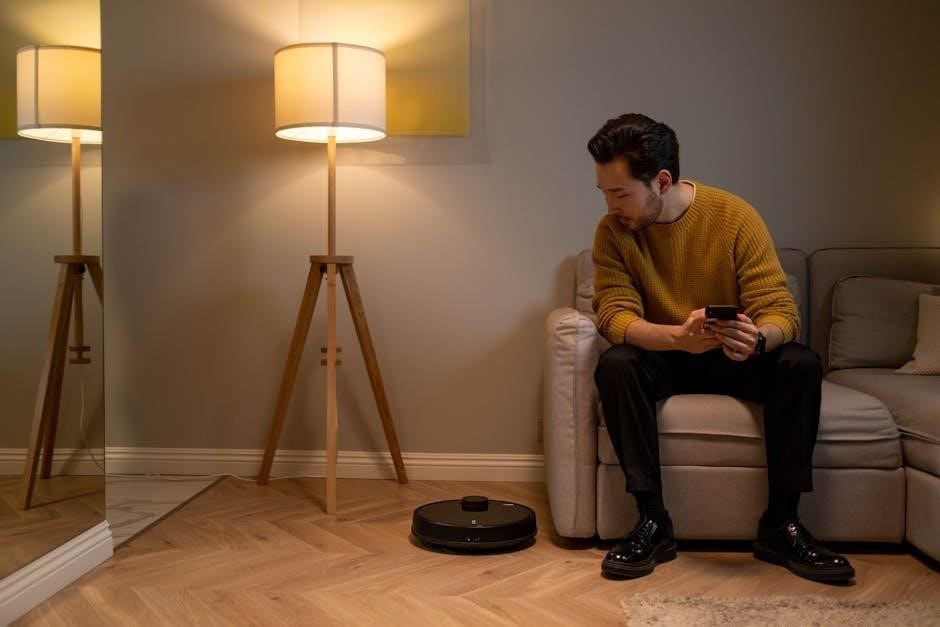
The Goovi robot vacuum offers a convenient timer function‚ allowing for automated cleaning schedules. While some models lack app connectivity‚ you can still program daily cleaning times directly on the robot using the remote control. This feature enables hands-free operation‚ ensuring your floors are consistently maintained without manual intervention.
To set the timer‚ consult your specific model’s instructions within the user manual. Typically‚ you’ll use the ‘Schedule’ or ‘Timer’ buttons on the remote to define the desired start time. The robot will then automatically initiate a cleaning cycle at the programmed hour each day‚ providing a consistently clean home environment. Remember to verify the schedule periodically.
Understanding Error Codes
Your Goovi robot vacuum utilizes error codes to communicate potential issues. These codes‚ displayed on the robot or via the app (if applicable)‚ indicate problems ranging from brush obstructions to low battery levels. Consulting the user manual is crucial for deciphering these codes and implementing appropriate solutions.
Common errors include codes related to wheel malfunctions‚ sensor failures‚ or dustbin fullness. Addressing these promptly prevents further damage and ensures optimal performance. The manual provides a detailed list of error codes‚ their meanings‚ and recommended troubleshooting steps. Ignoring error codes can lead to reduced cleaning efficiency or complete operational failure‚ so prompt attention is vital.
Replacing Parts (Filters‚ Brushes)
Maintaining peak performance requires periodic replacement of wear-and-tear components. Filters should be replaced every 2-3 weeks‚ depending on usage‚ to maintain suction power and air quality. Brushes‚ including side brushes and the main brush‚ need replacement every 6-12 months‚ or sooner if debris buildup is excessive.
The user manual provides detailed instructions for accessing and replacing these parts. Using genuine Goovi replacement parts ensures compatibility and optimal cleaning results. Regularly inspecting and replacing worn components extends the lifespan of your robot vacuum and preserves its cleaning effectiveness. Neglecting replacements diminishes cleaning power and potentially damages the device.
Safety Precautions
Always adhere to the instructions within this manual to prevent damage to the robot‚ surroundings‚ or potential injury during operation and maintenance.
Important Safety Instructions
Before operating your Goovi robot vacuum‚ carefully read all safety instructions to ensure safe and effective use. This device is intended for indoor floor cleaning only; avoid using it outdoors or on wet surfaces. Keep the charging base away from water sources and ensure proper ventilation during charging.
Never allow children or pets to play with the robot or its accessories. Do not disassemble or attempt to repair the vacuum yourself‚ as this could void the warranty and pose a safety hazard. Always disconnect the power supply before cleaning or maintaining the device. Be mindful of potential tripping hazards created by the robot’s operation‚ especially for individuals with mobility issues.
Avoiding Damage to the Robot & Surroundings
To prevent damage to your Goovi robot vacuum and your home‚ remove small objects‚ cords‚ and fragile items from the cleaning path. Avoid areas with exposed electrical wiring or steep drops. Do not allow the robot to vacuum up liquids‚ sharp objects‚ or anything that could clog the brushes or dustbin.
Regularly inspect the brushes for tangles and remove any obstructions. Be cautious when using the robot near furniture with delicate legs‚ as bumping could cause scratches. Ensure the robot’s sensors are clean and unobstructed for optimal navigation and obstacle avoidance. Following these precautions will prolong the life of your device.
Technical Specifications
This section details key specifications including battery information‚ dimensions‚ weight‚ and dustbin capacity for your Goovi robot vacuum model‚ aiding informed usage.
Battery Information & Lifespan
Your Goovi robot vacuum utilizes a rechargeable battery‚ typically Lithium-Ion‚ designed for extended cleaning cycles. Initial charging requires approximately 4-6 hours for a full charge‚ providing up to 90-120 minutes of runtime‚ depending on the cleaning mode selected and floor type.
Battery lifespan varies with usage and care; expect around 300-500 charge cycles before noticeable degradation. To maximize battery life‚ avoid frequent deep discharges and ensure the robot is stored in a cool‚ dry place. Regularly check for any swelling or damage to the battery and replace it if necessary‚ following the instructions in the ‘Replacing Parts’ section.
Dimensions & Weight
The Goovi robot vacuum is designed with a compact profile to navigate easily under furniture and into tight spaces. Typical dimensions for the D380‚ D382‚ and F007c models are approximately 13.4 inches in diameter and 3.1 inches in height. These measurements may vary slightly depending on the specific model and any attached accessories.
The robot’s weight generally falls between 6.6 to 7.7 pounds‚ making it lightweight and easy to carry. This balanced weight contributes to its maneuverability and efficient cleaning performance across different floor surfaces. Refer to the product packaging or the official Goovi website for precise specifications for your particular model.
Dustbin Capacity
The Goovi robot vacuum features a dustbin designed for efficient debris collection during automated cleaning cycles. Typically‚ the dustbin capacity ranges from 0.4 to 0.6 liters (approximately 13.5 to 20.3 ounces). This size allows for extended cleaning sessions before requiring emptying‚ minimizing interruptions to your schedule.
Regularly emptying the dustbin is crucial for maintaining optimal suction power and cleaning performance. A full dustbin can reduce cleaning effectiveness. The dustbin is easily accessible for quick and hygienic disposal of collected dust‚ dirt‚ and pet hair‚ ensuring a clean home environment.

Goovi Robot Vacuum App (If Applicable)
Some Goovi models lack app support‚ relying on a remote control for operation; however‚ timer functions are available for scheduled cleaning sessions.
Downloading and Installing the App
Unfortunately‚ based on available information‚ not all Goovi robot vacuum models feature a dedicated mobile application. If your specific model does support an app‚ the download process would typically involve visiting either the Apple App Store (for iOS devices) or the Google Play Store (for Android devices).
Search for “Goovi” or the specific model number (e.g.‚ “Goovi F007c app”) within the store. Once located‚ tap the “Install” button to begin the download and installation process. Ensure your device meets the minimum system requirements specified in the app description for optimal performance. After installation‚ open the app to proceed with account creation and robot connection.
Connecting the Robot to Wi-Fi
Please note that‚ according to current information‚ many Goovi robot vacuum models‚ including the F007c‚ do not support Wi-Fi connectivity or a dedicated mobile app. Therefore‚ a Wi-Fi connection process isn’t applicable for these units. Control is managed directly via the included remote control and physical buttons on the device itself.
If your Goovi model does offer Wi-Fi‚ the app will guide you through the connection process. This generally involves entering your home Wi-Fi network’s password within the app interface. Ensure your robot is within range of your Wi-Fi router during setup for a stable connection.
App Features and Control Options
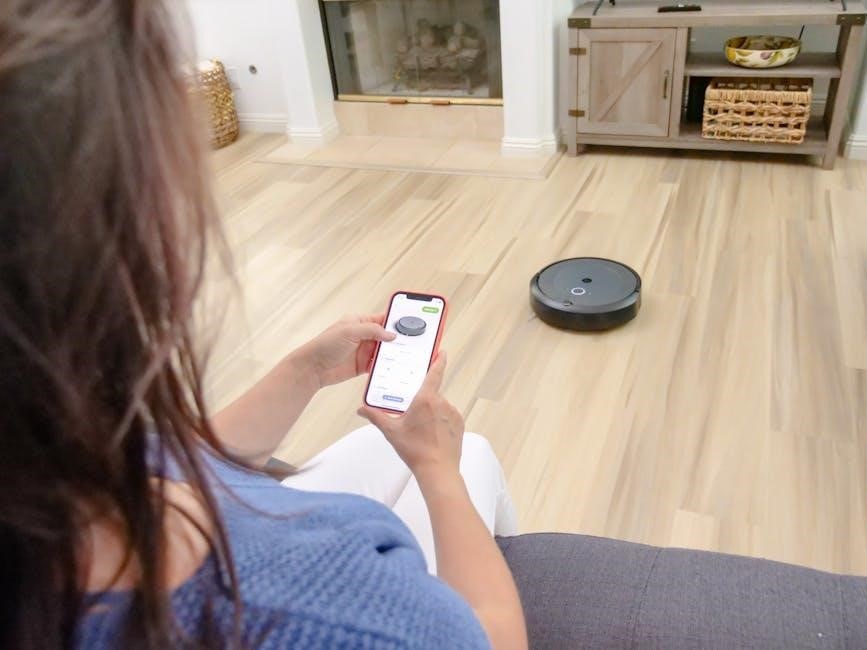
Given that many Goovi robot vacuum models‚ such as the F007c‚ lack dedicated app support‚ extensive app-based features are unavailable. However‚ if your specific Goovi model does have app connectivity‚ expect standard robotic vacuum controls. These typically include remote start/stop‚ scheduling cleaning sessions‚ adjusting cleaning modes (auto‚ spot‚ edge)‚ and monitoring the robot’s cleaning path in real-time.
The app may also display error codes‚ battery status‚ and allow for firmware updates. Without app support‚ all control is managed via the physical remote control provided with the device.
Warranty Information
Goovi provides warranty details covering defects in materials and workmanship. Contact customer support for assistance with claims or questions regarding your Goovi robot vacuum.
Goovi Warranty Details
Goovi robot vacuums are covered by a standard manufacturer’s warranty against defects in materials and workmanship from the date of original purchase. The warranty period typically lasts for one year‚ though specific durations may vary depending on the model and region. This warranty covers functional parts‚ including the motor and electronic components‚ but does not extend to consumable parts like brushes or filters‚ which wear down with normal use.
Damage resulting from misuse‚ accidents‚ unauthorized repairs‚ or failure to follow the instructions in the user manual voids the warranty. To initiate a warranty claim‚ customers must contact Goovi customer support with proof of purchase and a detailed description of the issue.
Contacting Customer Support
For assistance with your Goovi robot vacuum‚ reaching customer support is crucial for resolving issues or clarifying any questions. Goovi provides several avenues for contact‚ including email support‚ often listed within the product’s documentation or on their official website. While a dedicated phone line isn’t always prominently displayed‚ many users report success through email inquiries.
When contacting support‚ be prepared to provide your model number (D380‚ D382‚ F007c)‚ purchase date‚ and a detailed description of the problem. Including photos or videos can expedite the troubleshooting process and ensure a swift resolution to your concerns.
